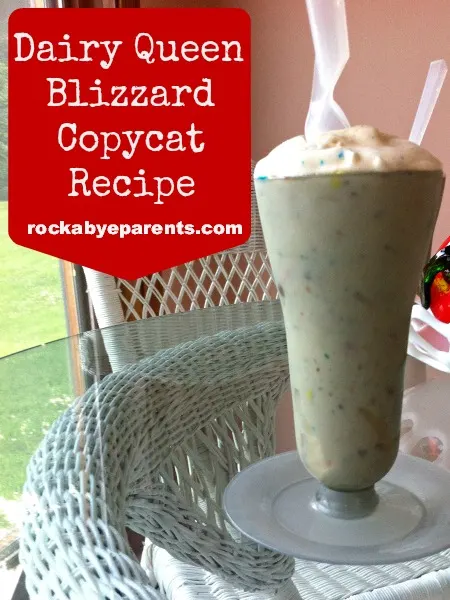
A trip to Dairy Queen when I was a kid was a special treat (truthfully it still is). We would go a few times every summer, but it wasn’t a constant thing. While there is something special about having a Dairy Queen Blizzard we never felt like we were missing out because most weeks we still got to have Blizzards. We just got to have them at home. Years back, when Pinterest wasn’t a thought and the internet wasn’t over flowing with copycat recipes, my mom was recreating Blizzards for us at home. They have always been one of my favorite summer treats, but honestly they aren’t hard to make. They are really yummy though, so I thought I’d share with all of you my mother’s Dairy Queen Blizzard Copycat Recipe.

How to Make a Dairy Queen Blizzard at Home
Disclosure: This post contains affiliate links. As an Amazon Associate I earn from qualifying purchases.
Making Blizzards at home is really pretty easy. Mostly you just have to have a plan in place to make them because they take a little time. There are a few items you need:
- A Food Processor or Blender
- Vanilla Ice Cream
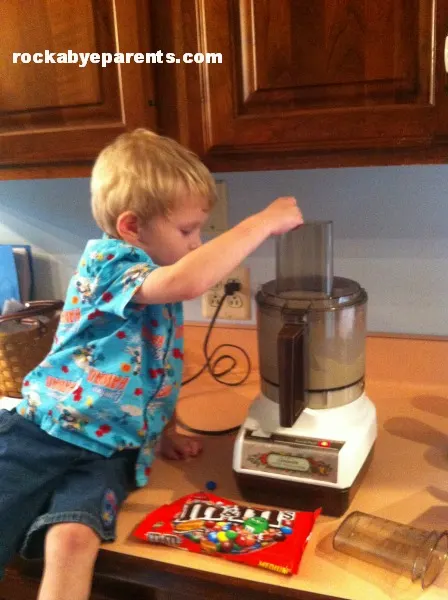
- Candy of your Choice – Some type of M&M or small candy works best. For the ones we made for the pictures we went with Peanut Butter M&Ms. Yummy!
- Some type of cup to put your blizzards in. My mother has some awesome tall Tupperware ones that we’ve always used, but you can use whatever you want. I think our current spoons for them are from McDonald’s, but she used to keep the Blizzard spoons from Dairy Queen to use.
My mother has a small food processor, so she has always made one Blizzard at a time, but you could do more than one. The hardest part is figuring out how much ice cream to add. Ours take about three serving spoons worth, but it really depends on the size of the cups that you’re going to put them in.
First you want to get the ice cream out of the freezer so that it has a little time to soften. Not a lot though. 10 minutes should be about right.
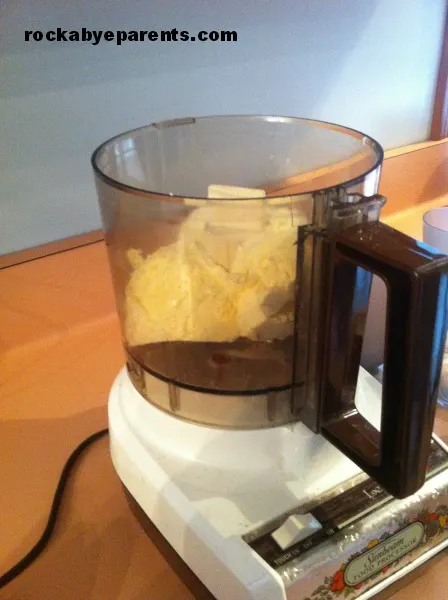
Next you want to scoop the desired amount of ice cream out and place it into the food processor. For ours we scoop out about three serving spoons worth of ice cream. Then blend until the ice cream is thick.


Dairy Queen Blizzard Copycat Recipe
Dairy Queen Blizzard Copycat Recipe

Ingredients
- Vanilla Ice Cream
- Candy of your choice
Instructions
- Get ice cream out of the freezer and let soften (about 10 minutes)
- Scoop out desired amount of ice cream into food processor.
- Blend until thick.
- Add candy (usually 20-25 pieces)
- Blend again, just enough to chop up candy pieces.
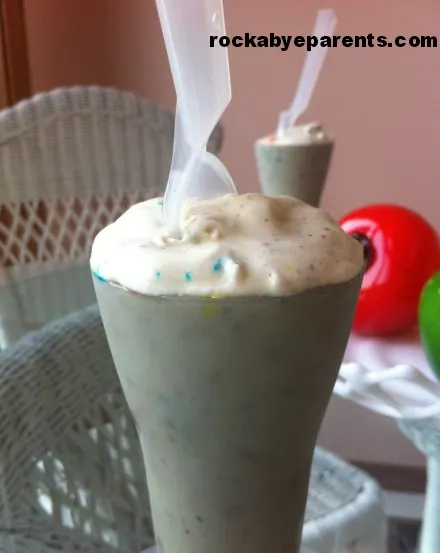
- Pour into cup and put it into the freezer for about 30 minutes.
- Enjoy!

20+ Recipes Using M&M's
Saturday 4th of October 2014
[…] Dairy Queen M&M Blizzard Copycat Recipe – Rock-A-Bye Parents […]
Laura@Baking in Pyjamas
Sunday 3rd of August 2014
I love softened ice cream with candy in, yum! Thanks for linking up to Sweet and Savoury Sunday, stop by and link up again. Have a great day!!
Karen
Monday 28th of July 2014
These look so tasty! I love, love, love ice cream and anything at all made with it. The possibilities could be endless with this. Thanks for sharing.
Carrie
Wednesday 23rd of July 2014
YUM!!! This makes me happy. I love Blizzards, too...totally going to try this with my kids one of these days!
Grandma
Wednesday 23rd of July 2014
This so good. The best on a warm day. Love it.