DIY Non-Candy Halloween Goody Bags
Wondering about how to hand out non-candy treats on Halloween? You could always hand out the items individually, or you could make these adorable DIY non-candy Halloween goody bags!
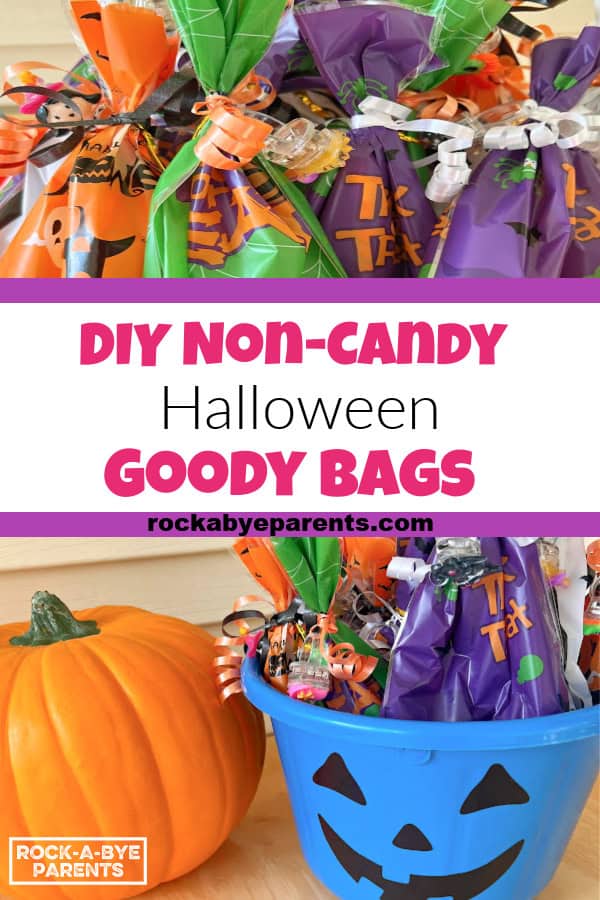
DIY Non-Candy Halloween Goody Bags
Disclosure: This post contains affiliate links. As an Amazon Associate, I earn from qualifying purchases.
Since our family started taking part in the Teal Pumpkin Project I have always had some random non-candy treats on hand for trick-or-treaters who need a food allergy-safe treat. A year ago though I decided that it was time to step up my game. I thought that the best way to hand out my non-candy Halloween treats would be to create some goody bags!
I must say that these bags turned out so cute! Plus, I must have picked out some good items to add to the bags because my kiddo wanted most of what I bought for himself.
These goody bags are a great option for so many activities. You can hand them out to trick-or-treaters like I plan to do, but you can also use them as treat bags to hand out at your child’s school or at a Halloween-themed party.
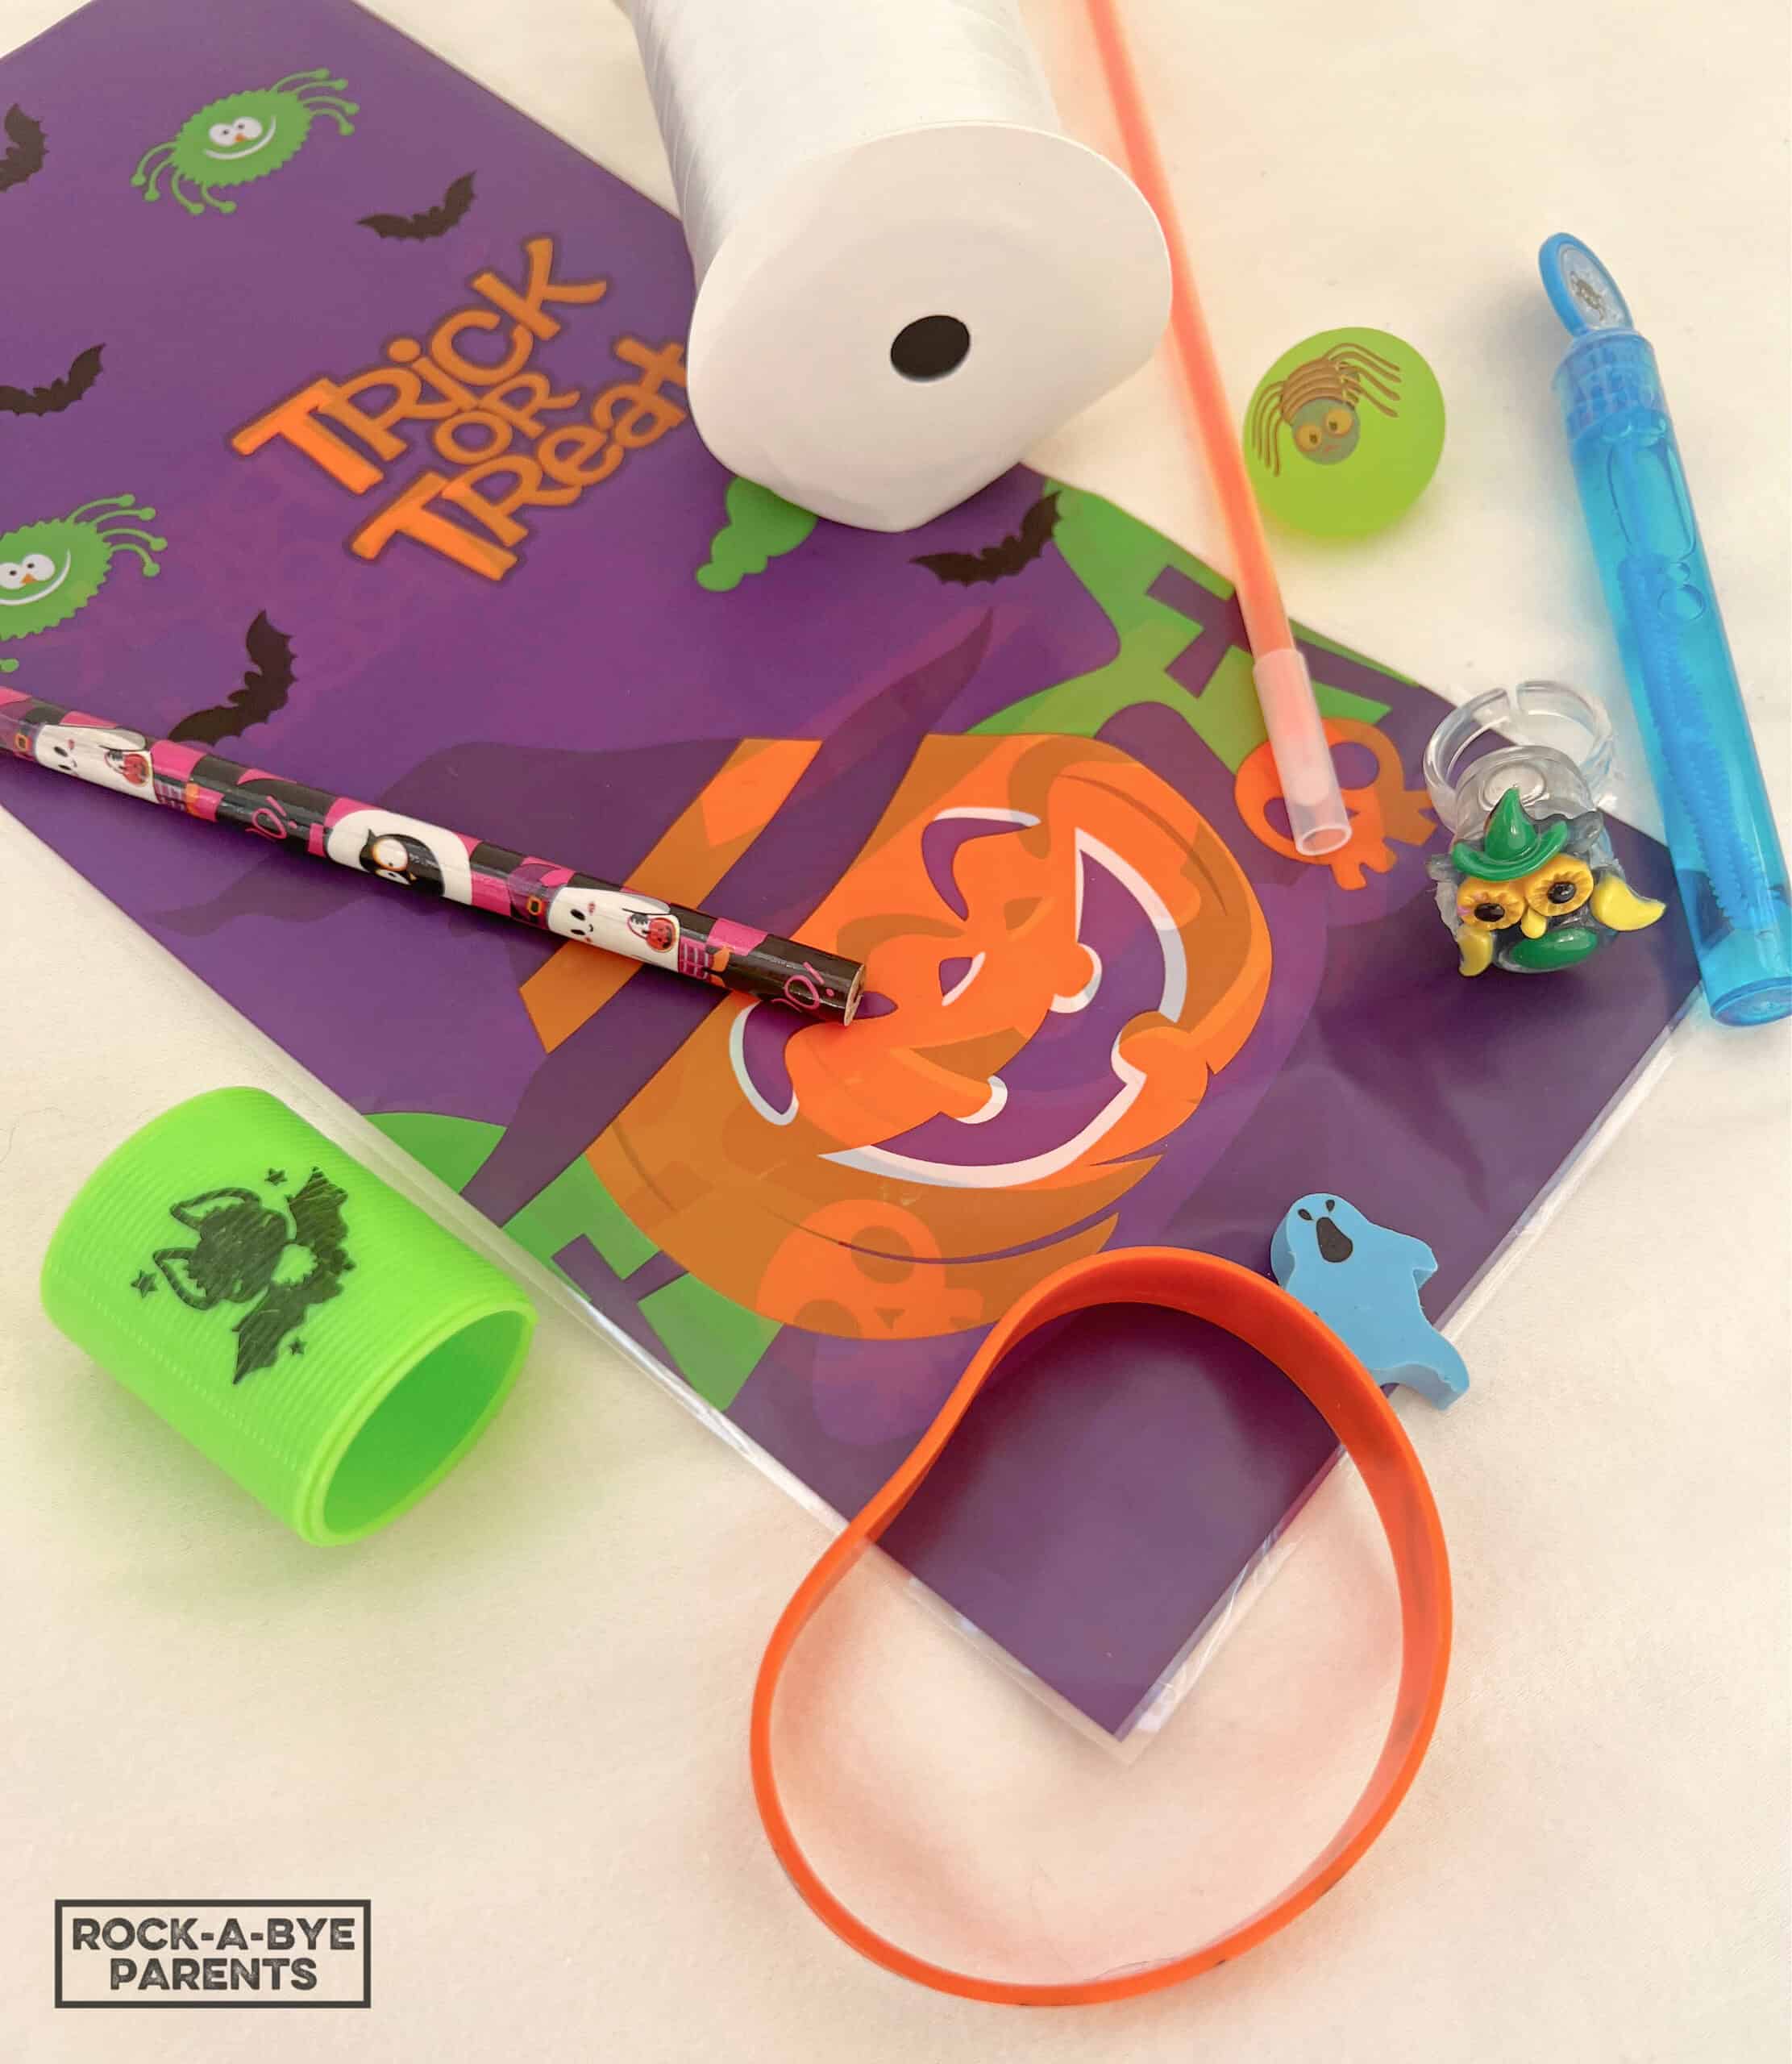
Supplies Needed for these Candy-Free Halloween Treat Bags
Here are the supplies that you’ll need to create your own DIY non-candy Halloween goody bags! You can certainly change up the treats that you put in your own bags, but here are my suggestions based on what I bought to make mine.
- Treat Bags – There are a lot of Halloween treat bags that you can choose from. For the design of these bags, you’ll want a plastic bag that can be tied at the top. Ones that have tie flaps could work as long as the items inside aren’t taller than where the bag ties off. The ones that come with a twist tie probably will be your best bet though.
- Halloween Pencils – Kids love fun-themed pencils to write with. There are so many fun Halloween-themed pencils to choose from. The ones I bought came with Halloween bracelets, so I got two items in one shot.
- Halloween Bracelets – So, as mentioned above, these bracelets came with the pencils that I purchased. I wanted some items that would help make the bag look full, so I thought these would help and be a fun addition.
- Halloween Erasers – Like the pencils I listed above, kids love to have fun erasers at school and at home. These are also a pretty inexpensive treat to add to the bags. I only put in one eraser per bag, but you could certainly add two if you want to.
- Bouncy Balls – Do kids ever not enjoy getting a bouncy ball? Even my 13-year-old got some from a school teacher last year and was excited about them. There are a lot of fun Halloween bouncy ball designs to choose from, and many of them even glow in the dark!
- Coil Springs – Coil springs, aka Slinkies, are also one of those basic toys that kids enjoy getting for a long time. They’re especially adorable for these treat bags when they come with Halloween images on them!
- Bubbles – Are bubbles ever not fun? Kids go crazy for bubbles. Little bubble bottles, or bubble wands, as I used in my goody bags, with Halloween pictures, are a great treat to hand out.
- Glow Sticks – If you’re handing these bags out before Halloween glow sticks are especially great because they can be worn for safety during trick-or-treating time, but they’re fun either way. I chose a bracelet style, but the actual sticks work too.
- Halloween Rings – The ring is an important treat to purchase because it’s part of the presentation look. I liked the rings I chose because they were all different and they can light up. That being said, they were very top-heavy, and they had a slit in the band to help with size, plus the band was very smooth. These three factors made the rings difficult to attach, so you might want to look at these other Halloween-themed ring options for your bags.
- Curling Ribbon – Curling ribbon is a must to give these bags the final touch to make these Halloween goody bags really pop. I liked having a collection of different colors to choose from, but you certainly can purchase just one color to use. The ones I linked to did curl really well.
- Halloween Pop Fidgets – I did not originally buy these pop fidgets when I made my first round of goody bags, but I highly recommend them as another item, or to switch them out with a different item. Kids absolutely adore pop fidgets, so these would be a big hit!

Halloween Treat Bag Accessories
These treat bags do not require many materials besides what you need to put into them, but here are some accessories from Amazon that can help.
Fiskars All Purpose Scissors, High Performance Cutting, Stainless Steel Blades, Ergonomic and Comfort Handles, Perfect for Arts and Crafts and the Office, Scissors for Office Sooez 6 Pack Extra Large Pencil Box, Plastic Pencil Case Crayon Box Bulk, Clear Marker Organizer Plastic Containers with Lid, Stackable Storage Box for Craft, Pen, Art, School Supply, GreyAmscan Orange Trick-Or-Treat Large Plastic Bowl – 6 Quarts (1 Count) – Perfect for Collecting Candies while Trick-Or-Treating & Party Decor


How to Assemble Non-Candy Halloween Goody Bags
The easiest way to make the non-candy Halloween goody bags is with an assembly line. You can do this by moving down the line yourself, or if you have help passing the bags down the line would be even easier. By using an assembly system though you can be sure not to accidently miss adding anything to the bags.

I recommend setting up your assembly line around a large table or a long counter. You can make piles of some of the items, but placing the small items, or ones that roll, in bowls or containers can be very helpful. You don’t want to waste time chasing down bouncy balls that are rolling onto the floor.
On the side of the table or counter that you’ll start at, place the bags that you’ll be using. At the other end, where you plan to end, place the Halloween rings and curling ribbon. I also highly recommend having whatever container you’re going to use to hold the bags at the end of your assembly line so you can immediately place the bags inside it. Between your start and your ends, place all of the goodies that you bought for the bags.

Once you have everything set out, it’s time to start assembling the bags. From the start of your assembly line, grab one of the Halloween treat bags. With the bag in hand, move down the line and put one of each item, or the number for each item that you want, into the bag until you make it to the end.
How to Decorate Non-Candy Halloween Treat Bags
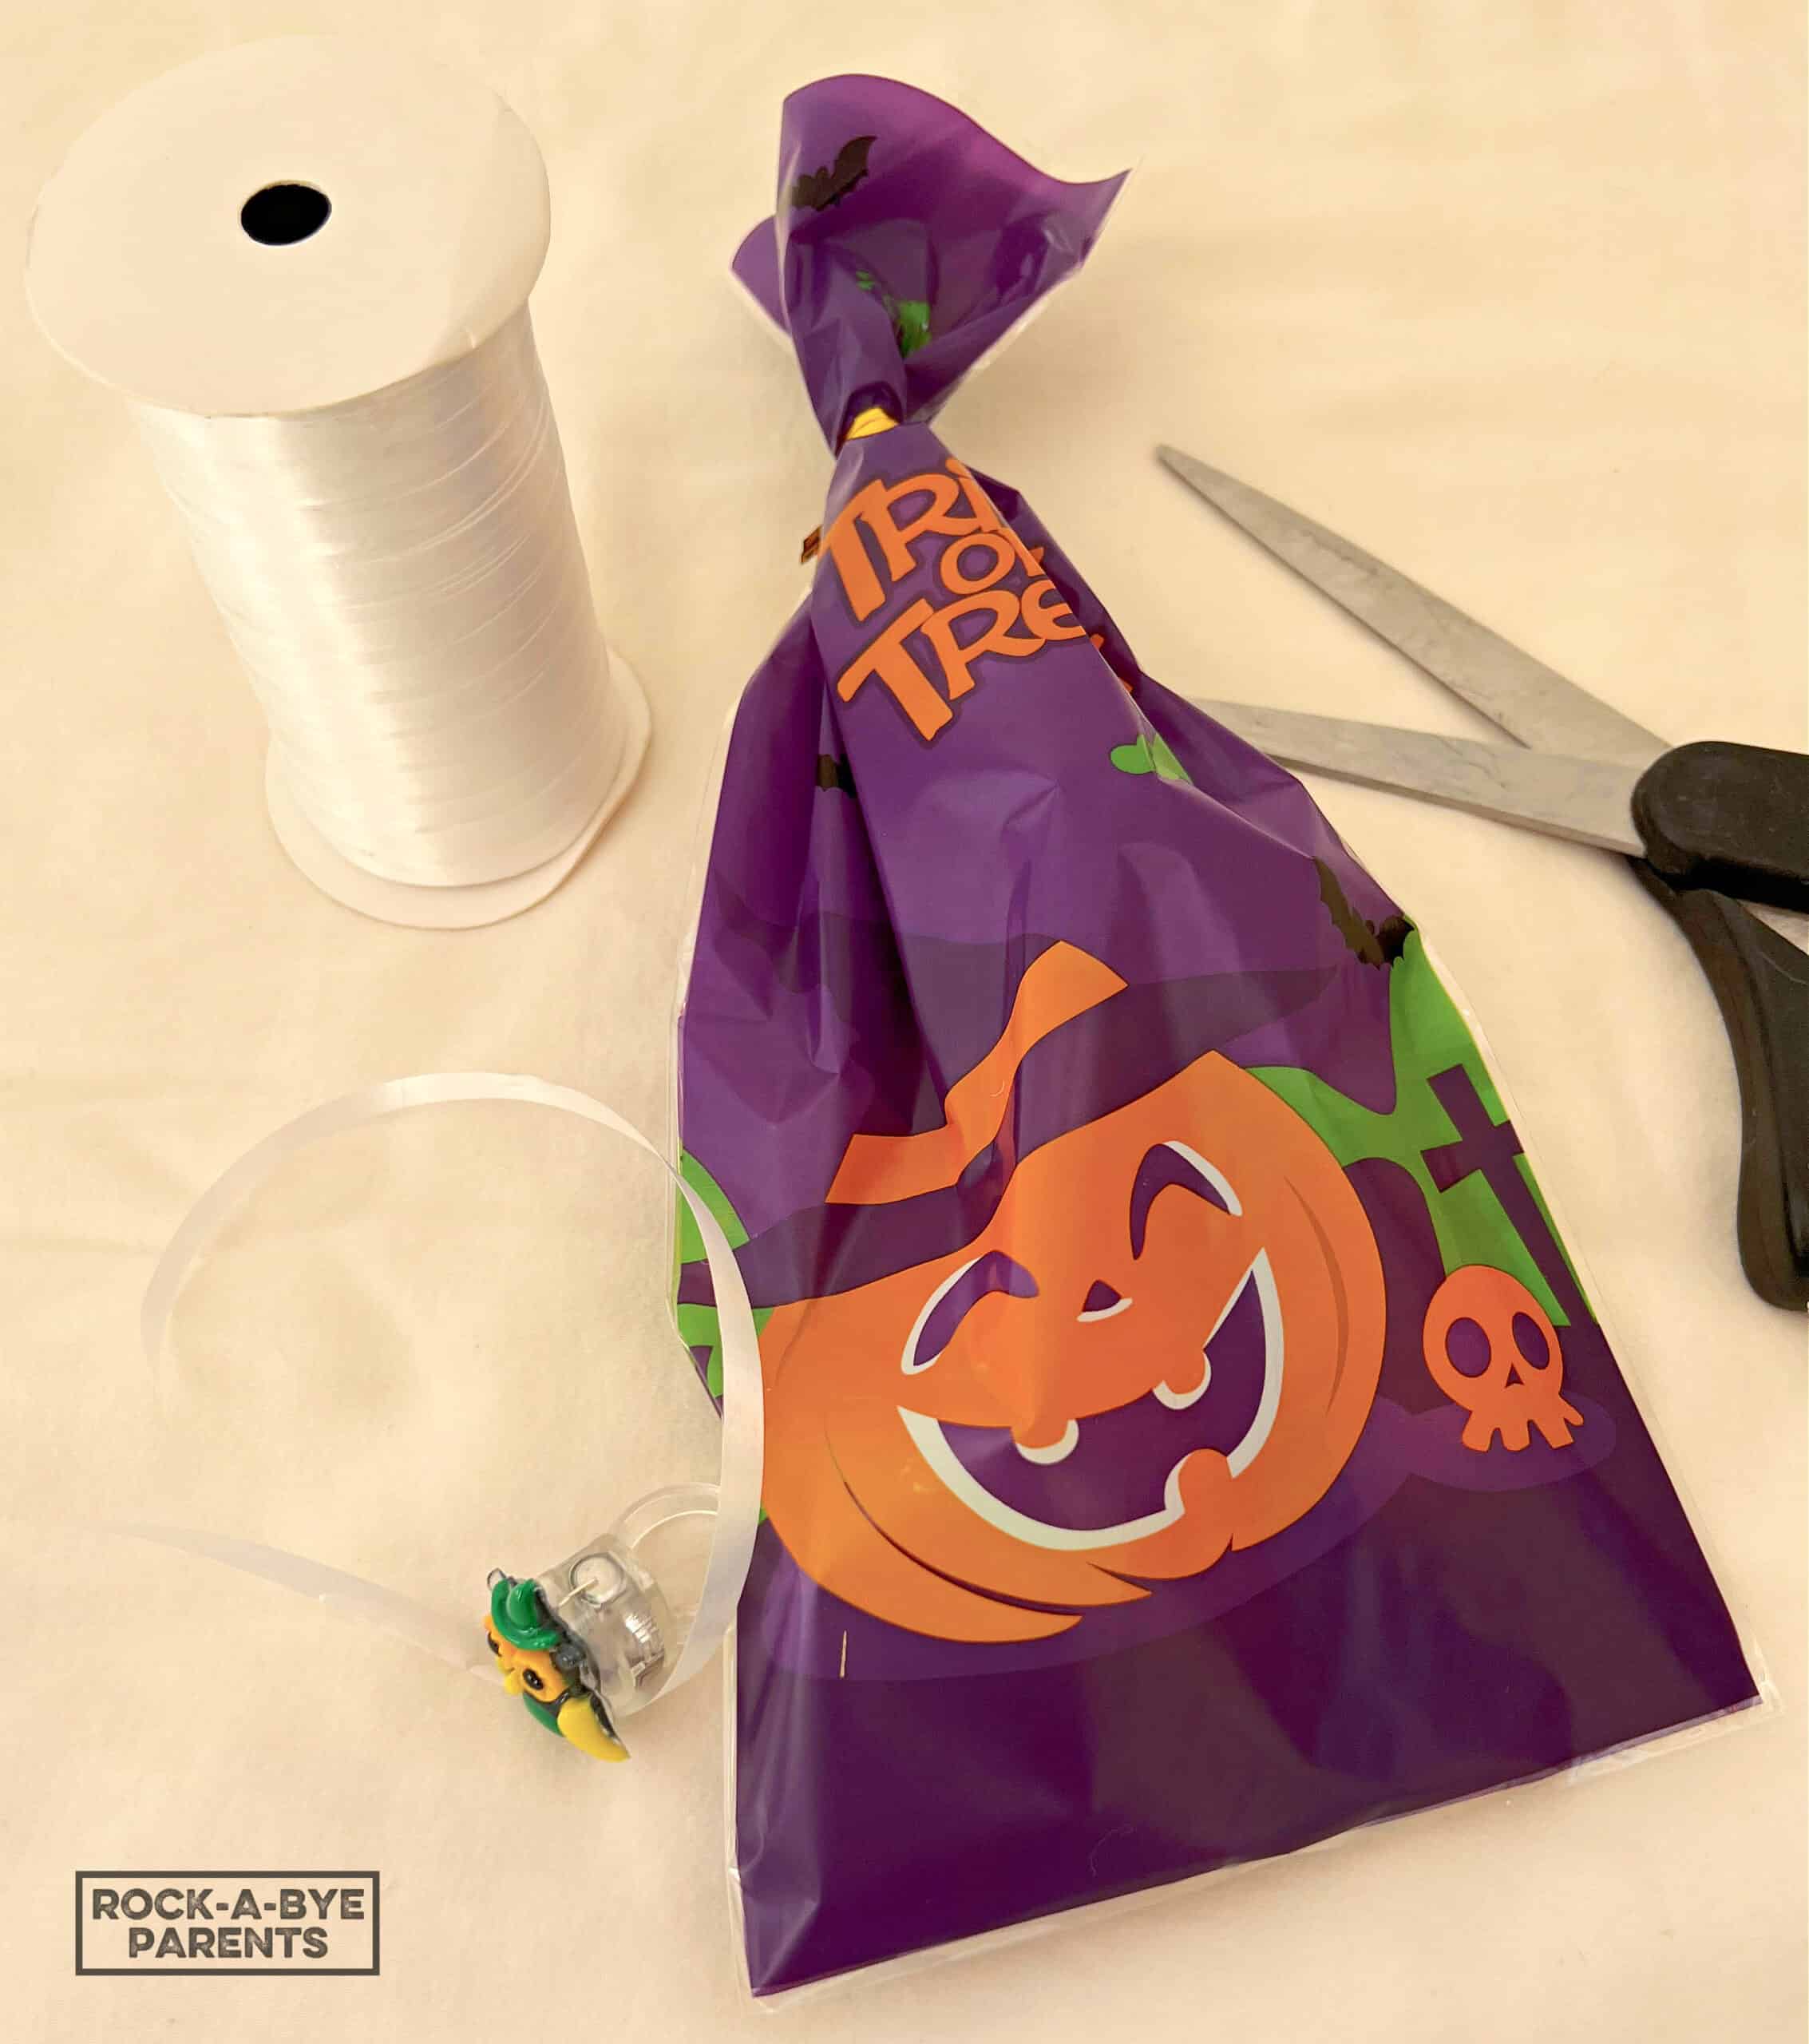
When you make it to the end, it’s time to tie your bag closed. Start by using one of the twist ties that came with the bag to close it.

Next cut off some cutting ribbon. Take the ribbon, wrap it around the twist tie on the bag, and create a single knot. You don’t need the remaining sides of the ribbon to be the exact same length at this point, but you don’t want one side to be really long while you leave the other side short.
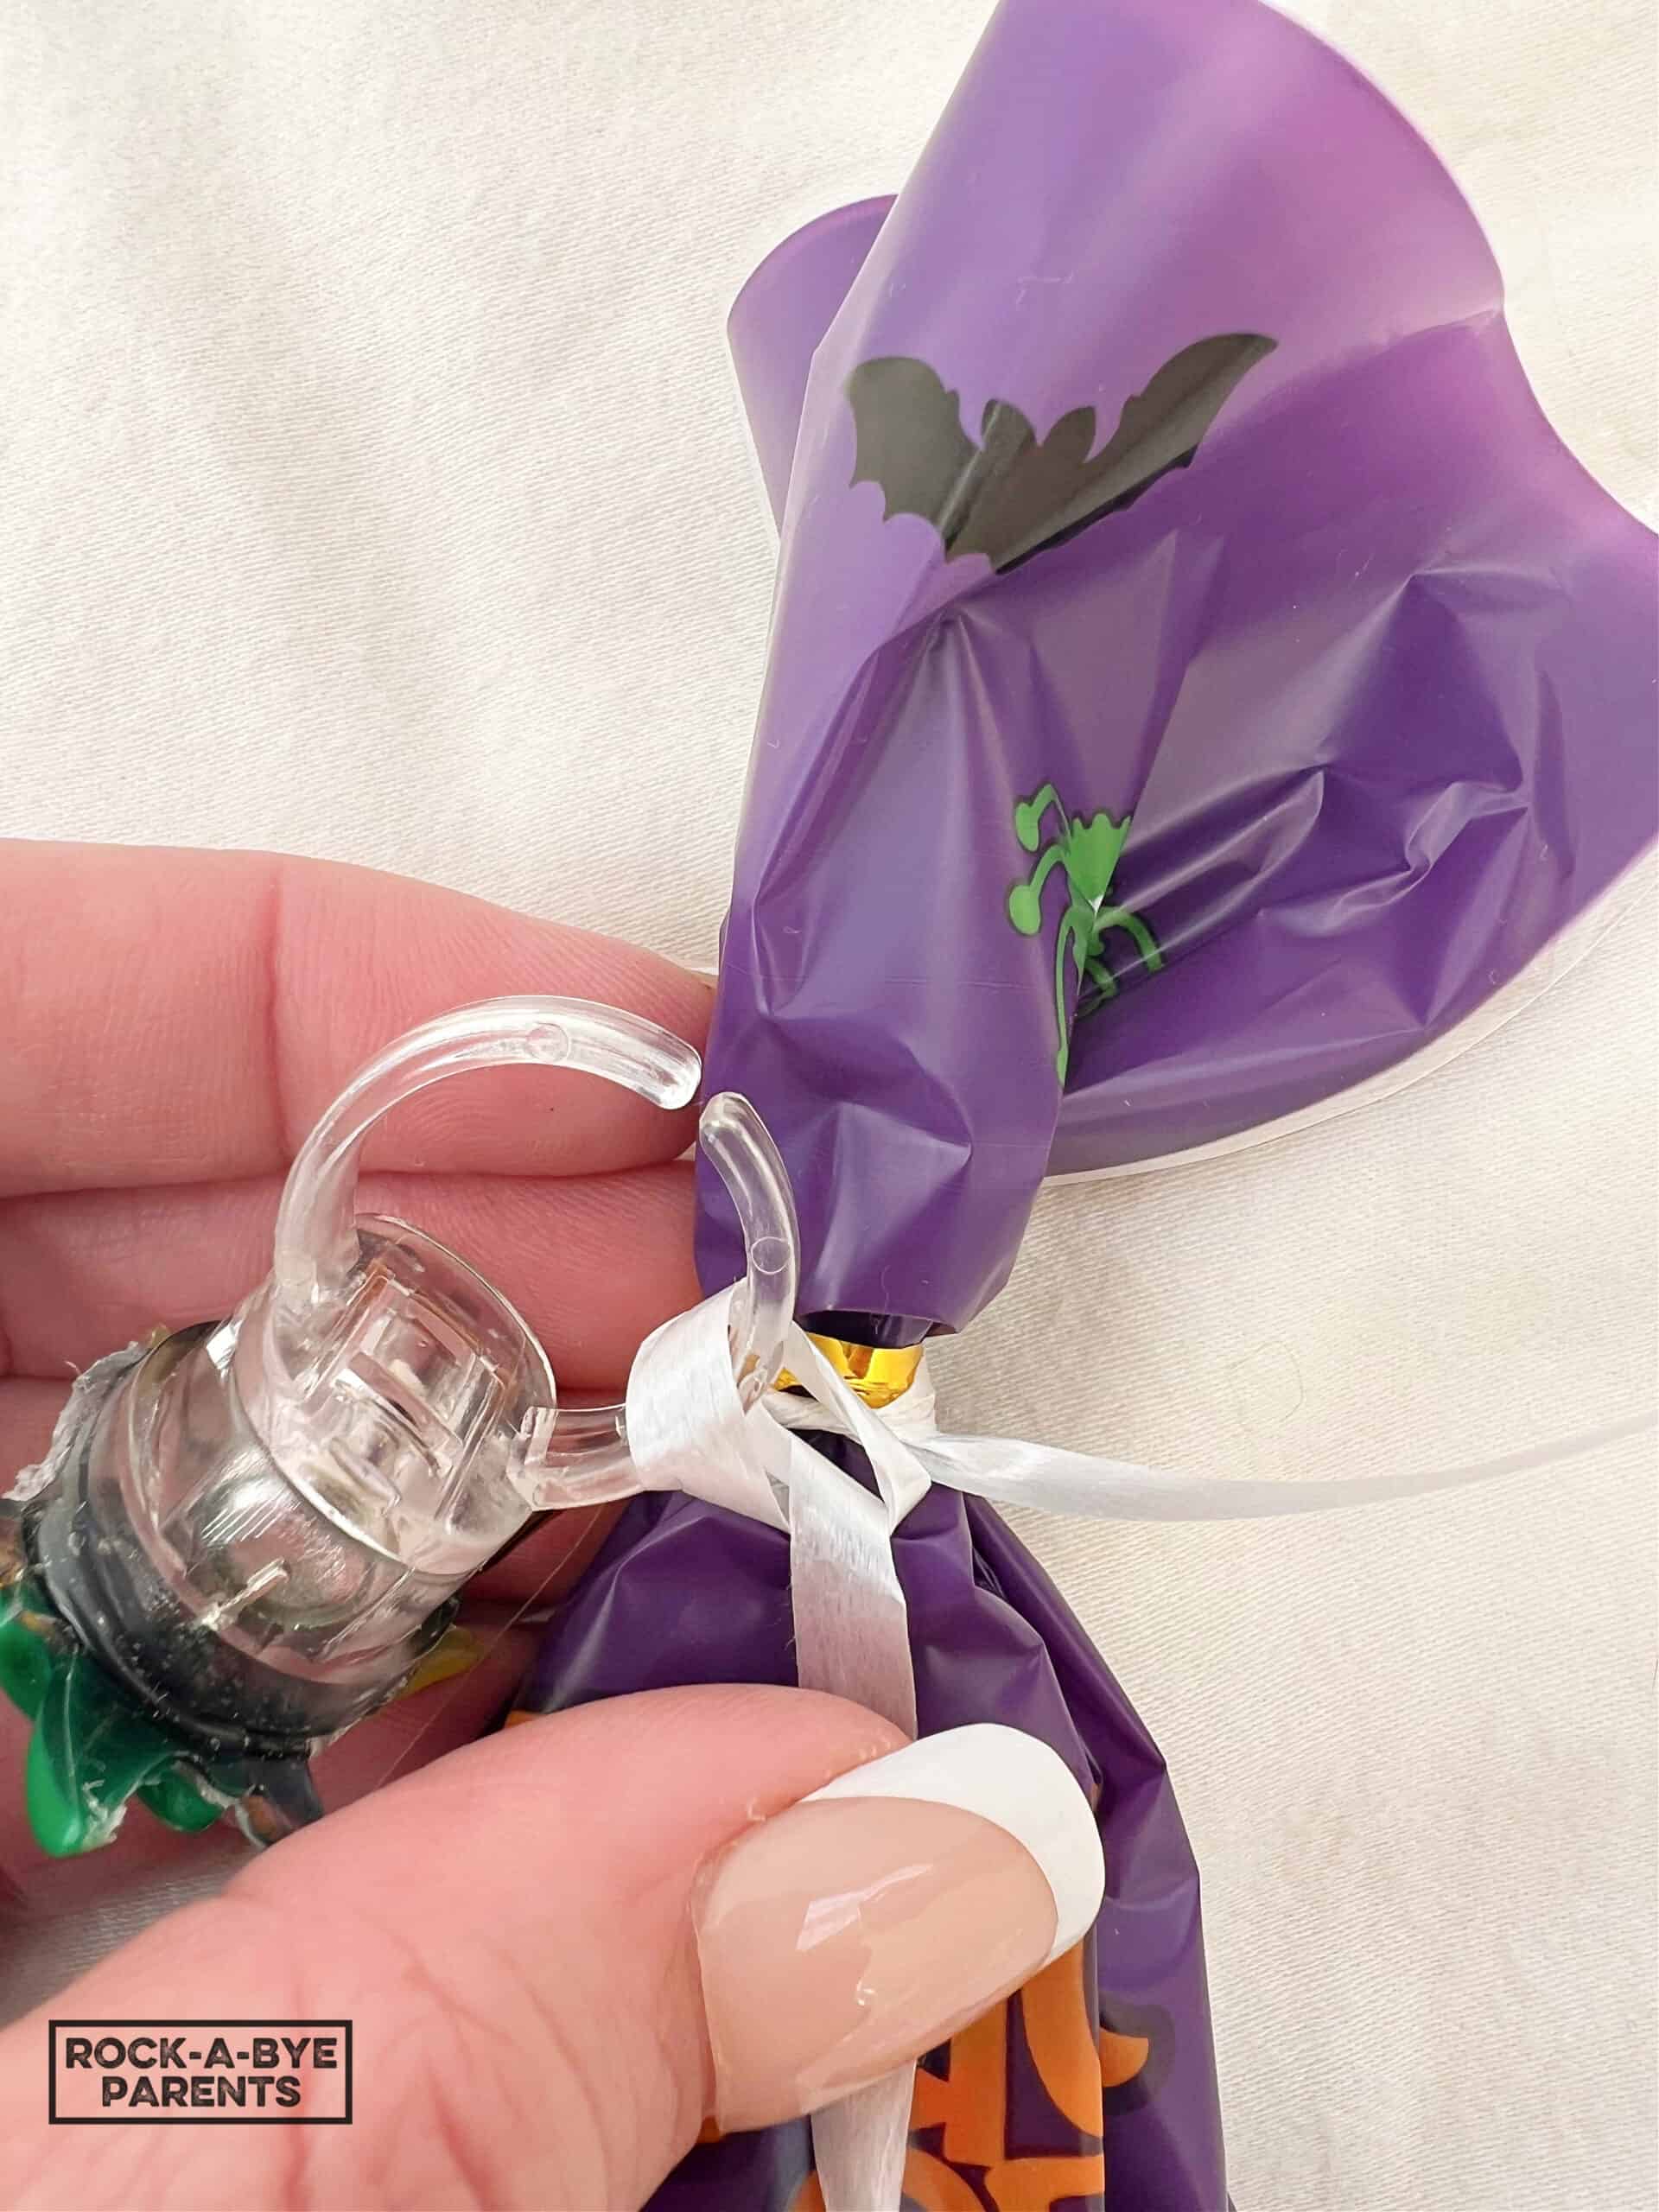
Now it’s time to attach the Halloween ring to the ribbon. On one of the sides, it doesn’t matter which, knot the ribbon around the band of the ring. You’ll want to tie the ring close to the bag and not down by the end of the ribbon. If you have very top-heavy rings, like I purchased, you’ll want to tie the ribbon as tightly as you can to the band. These rings, though very fun, had a habit of sliding around because of the top weight, which caused the ribbon to slide off the notch in the band, so you need to make sure to tie it as tightly as you can. I recommend making it a double knot as well.
After the ring has been attached, wrap both sides of the ribbon around the bag and knot them once, if not two more times. This will help hold the ring in place close to the bag so it doesn’t simply flop all over.

To finish up, use a pair of scissors to curl both ends of the curling ribbon. Then place the bag into the treat bowl so you can start assembling another bag.
How Does Curling Ribbon with Scissors Work?
Wondering about how to actually get your curling ribbon curled? It can be a little tricky before you get the hang of it. To help you out, I made a quick video showing how I use a pair of scissors to curl the curling ribbon on my DIY non-candy Halloween goody bags.
Where Can I Buy Curling Ribbon?
You can find curling ribbon in stores that sell craft supplies and wrapping products. Typically, you’ll find them in the areas where you’ll find the wrapping paper and bows. You can also find a large selection of curling ribbons on Amazon if you want to have them shipped easily to you.
Halloween Non-Candy Treats
If you’re looking for something a little more than the basic treats on Amazon, then be sure to check out these adorable Halloween non-candy treats on Etsy! These are great to add to your goody bags, or if you’re short on time, then these are really nice, ready-to-handout options.
DIY Non-Candy Halloween Goody Bags
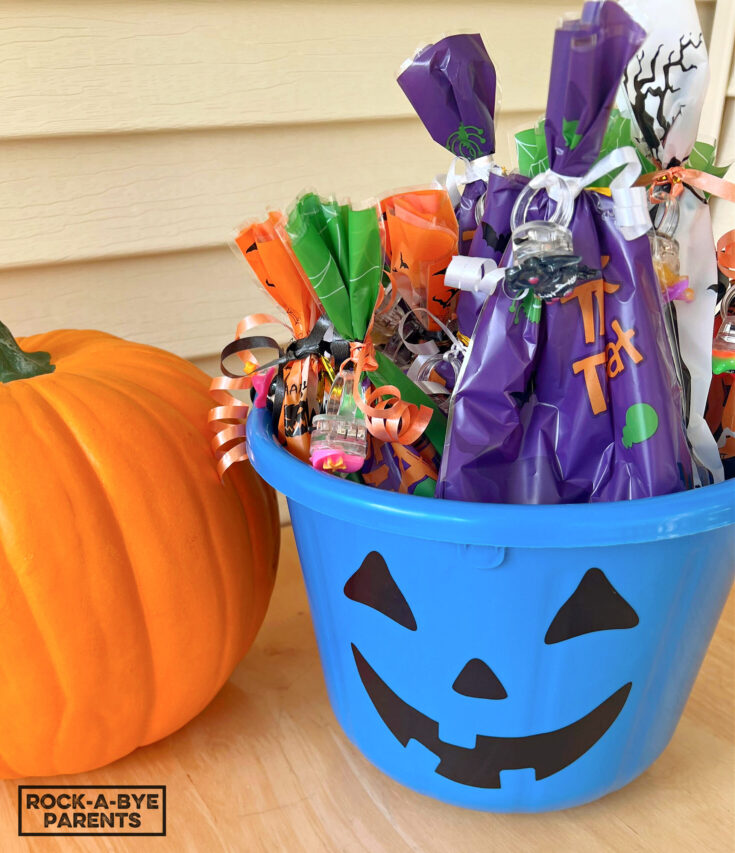
DIY non-candy Halloween goody bags to be used in place of candy treats, or just for a fun change!
Materials
- Halloween Treat Bags
- Curling Ribbon
- Halloween Erasers
- Halloween Pencils
- Halloween Bracelets
- Halloween Bouncy Balls
- Halloween Coil Springs
- Halloween Rings
- Halloween Bubbles
Tools
- Scissors
- Halloween Themed Container
Instructions
- Create an assembly line station along a counter or large table. Start with the treat bags, end with the treat bag twistie ties, rings, and curling ribbon. In between, create a pile for each treat that you are going to add to the bags. Place items that could roll away in a container.
- Grab a treat bag and move down your assembly line, adding one (or whatever number you have decided on) of each treat item to the bag.
- When you reach the end, use a twistie to close the bag shut.
- Cut a piece of curling ribbon and tie it around the twisite. Try to keep the ribbon hanging off each side fairly even.
- Tie the ring to one side of the ribbon. Tie it up close to the bag and not down low by the end of the ribbon.
- Wrap the ribbon around the bag and tie it again to help hold the ring in place.
- Use a pair of scissors to curl each end of the curling ribbon.
- Place the goody bag into a Halloween container and get ready to start making your next bag!
Notes
Make sure to tie the ring on tight so it doesn't slide around and fall off the curling ribbon.
The cost of making these goody bags can greatly vary. I'm basing the cost on what I spent on 25 bags. What you decide to buy, and how many of those items you get, will make a huge difference in cost per bag.
If you're making these to pass out for Trick-or-Treaters as a non-candy option, be sure to post that you have non-candy treats on The Teal Pumpkin Project Map!
Recommended Products
As an Amazon Associate and member of other affiliate programs, I earn from qualifying purchases.
-
 CCINEE 36pcs Halloween Coil Springs for Kids, Assorted Plastic Magic Spring Toys Bulk for Halloween Party Favors Goodie Bag Stuffers Classroom Prizes Treat or Trick Gift
 -
 Halloween Treat Bags, 100PCS Halloween Goodie Candy Bags with Twist Ties for Party Supplies Favors Trick or Treat
 -
 YGAOHF 60 Pack Mini Erasers - Cute Halloween Pumpkin Ghost Bat Erasers, Trick or Treat Party Favors, Halloween Decorations
More Halloween Fun!
Looking for some more fun Halloween posts? Be sure to check out some of these!


